A stone veneer wall is a lovely addition to any interior space. Stone is not just pretty to look at, it’s also timeless and more interesting and tactile than paint or wallpaper. But stone by itself doesn’t necessarily make a stone veneer wall. Grout — the mortar-like substance that fills the joints between individual stones — has almost as big of an impact on the final look of the project. With that in mind, it’s important to know the steps to working with grout for stone veneer.
Selecting Grout for Stone Veneer
When selecting grout, always keep in mind how you want the grout to look next to the stone. Do you want it to blend with the colour of the stone or contrast with it? Either look is beautiful, so it’s up to you to pick the one you think best suits the overall design.
You should also consider the thickness of the grout lines and how much the grout will show. You can make thin grout lines stand out in sharp relief or thick grout lines disappear into the stone veneer, simply by your choice of grout colour.
Remember, the stone veneer is the star while the grout plays a supporting role. The grout should enhance the look of the stone, not bring it down or outshine it.
Winter Point Tuscan Ridge | Dutch Quality Stone
Arctic White Splitface | MSI
Teton Shadow Rock | Eldorado Stone
Grand Banks Limestone | Eldorado Stone
Stone Veneer Grout Techniques
Once you’ve selected grout, decide which technique you want to use to apply it. The technique you use depends largely on the stone veneer itself, and how far apart each individual stone is from its neighbors.
There are three main grout techniques: dry-stack, over-grout, and standard.
Dry-Stack
Dry-stack is used when the individual stones are set so closely together that the joints between them are almost nonexistent. In this scenario, grout is not used at all.
Zinc European Ledge | Eldorado Stone
Over-Grout
By contrast, over-grout is grout spread thickly between the stones and blended with them at the edges, so that the surface of the stone veneer is smooth and cohesive. With this technique, the grout is more pronounced and equal with the stone veneer in terms of its impact on the final look. Be extra careful which colour of grout you choose here.
Casa Blanca RoughCut | Eldorado Stone
Standard Grout
Finally, the standard grout technique is used for joints which are about a finger-width wide. The grout is pushed back from the faces of the individual stone to allow the stone veneer to protrude, which emphasizes its shapes, colour, and texture.
Veneto Fieldledge | Eldorado Stone
Out of the three techniques we’ve covered, the standard one is the most common. It’s preferred because it lets the stone veneer shine while providing a neat and attractive background.
Finishing the Grout
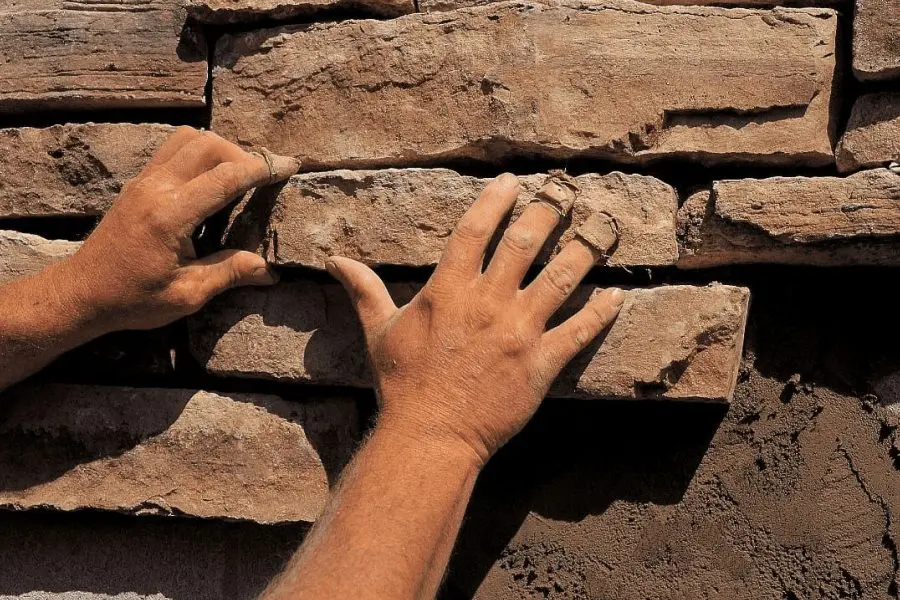
After choosing a colour and a technique for applying the grout, the last step is finishing it off. This is done before the grout is completely dry. You’ll know it’s ready when you press a finger onto the grout, pull it away, and see an impression of your fingerprint left behind.
If you’re using a standard grout installation technique, you may want to finish it by taking a tool with a sharp edge, and using the point of it to push the grout evenly throughout all the joints. This is the most common grout finishing method.
Ashen Weather Ledge | Dutch Quality Stone
Discover the Perfect Stone Veneer at I-XL
Before you can select a beautiful grout, you must find the perfect stone veneer.
At I-XL, we offer countless options for stone veneer in an array of colours and textures. Start your next stone veneer project by going to our Design Inspiration page and seeing the gorgeous combinations of stone and grout that are possible for your interior design. Then reach out to I-XL to request a quote and for any other questions.