Many homeowners have the experience, skills, and confidence with do-it-yourself projects that will allow them to install manufactured stone veneer themselves.
Here are some issues that even experienced handymen will want to consider before embarking on their project:
- Consult your local building authority to ensure you understand and follow local building regulations. Your local authority may have specific guidelines that will supersede the manufacturer’s recommended methods. Some jurisdictions require the installation of a drain screen behind the entire manufactured stone veneer for outdoor applications.
- If your project is an outdoor application, be sure you understand and are confident you can install the necessary flashing and accessory materials to ensure water is shed properly.
- Use only manufacturer-approved materials and accessories.
Installing Interior and Exterior Manufactured Stone Veneer
Before you get started, we recommend you download the National Concrete Masonry Association Manufactured Stone Installation Guide. Familiarizing yourself with these installation guidelines will help ensure an installation that will look great and that you will be proud to call your own.
Another very helpful resource is the Eldorado Stone video library:
How to Install Stone Veneer: Traditional Masonry Method
How To Install Stone Veneer: Over Cement Board
These videos provide step-by-step installation instructions, and great tips to help you. The videos reference the term ‘WRB’ which means Weather Resistant Barriers; such as building paper and building wrap.
We recommend homeowners use cement board as the substrate for their stone, rather than the mortar scratch coat that is shown in the traditional system video. Both systems work well but cement board ensures a uniform and full base for the stone and is easier to install than a traditional mortar scratch coat. Use exterior grade cement board for exterior applications and interior grade for interior applications.
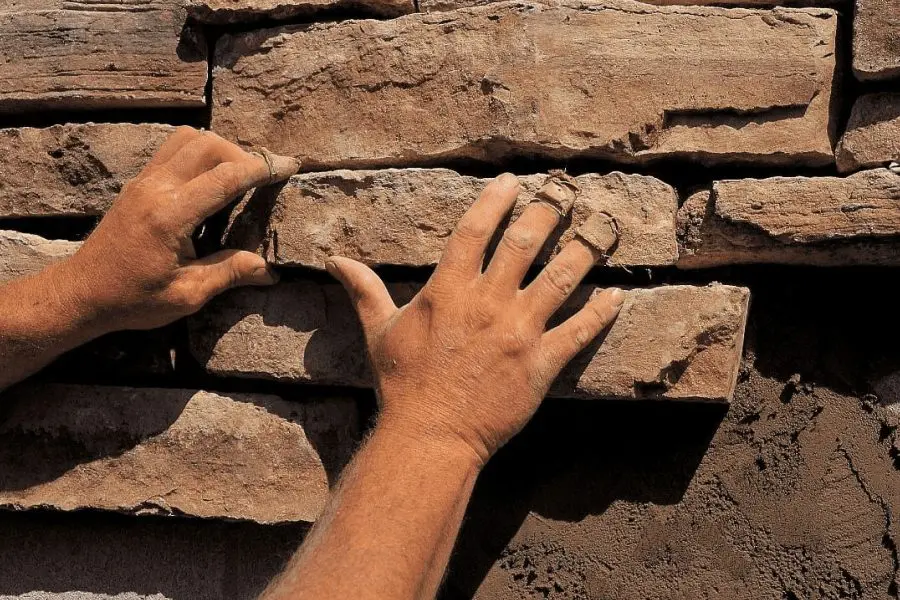
When choosing your stone, give some thought to whether you want your stone to have a line of mortar around each stone, as shown in the Traditional Method video or a dry stack application, as shown in the Install over Cement Board video. Dry stack stone profiles are easier for the first-timer to install, as they fit tightly together without a mortar line around each stone. Filling the voids around each stone can be challenging, but with a bit of practice, a professional-looking job can be achieved. I-XL supplies many stone profiles that are designed to be dry stacked, including the aptly titled Stacked Stone series. Some profiles that are installed using the dry stack method are available in panels that allow for very quick installation.
Regardless of the stone, it’s important to practice your technique. Time spent practicing will pay dividends on the finished wall. Purchase some extra stone and mortar and set up a practice wall to refine your installation technique.
The videos you have seen use both the Laticrete mortar system and traditional site-mixed mortar for the installation of the stone. I-XL supports the use of the Laticrete mortar system, and we also recommend the use of Polymer Modified Stone Veneer Mortar for your installation. Polymer Modified Mortar that meets the ANSI A 118.4 specification is specifically designed for use with manufactured stone veneer and can be easily mixed in a pail with a drill and paddle. It can be used for all stone veneer mortar applications.
The performance characteristics of Polymer Modified Mortar are superior to those of conventional mortars. For stone profiles that are installed in the traditional manner, with a mortar joint around each stone, we recommend that you lay the stone out on the floor in the exact pattern you will want on the wall. Be sure to leave the gap you want around each stone. When you have a pattern that is pleasing to your eye, start installing the stone on the wall. Apply mortar to the back of the stone and transfer the stone from its place on the floor to its corresponding place on the wall. Regardless of which stone profile or installation system you use, be sure to pull and blend the stones from at least 3 boxes to ensure a true range of colour.
If you have chosen any of the Eldorado large-format profiles, be sure to read the installation instructions specific to those profiles. These large format profiles are more of a challenge to install so extra care is needed.
Good luck with your project! With care and attention to detail, you can create the stone wall of your dreams.


