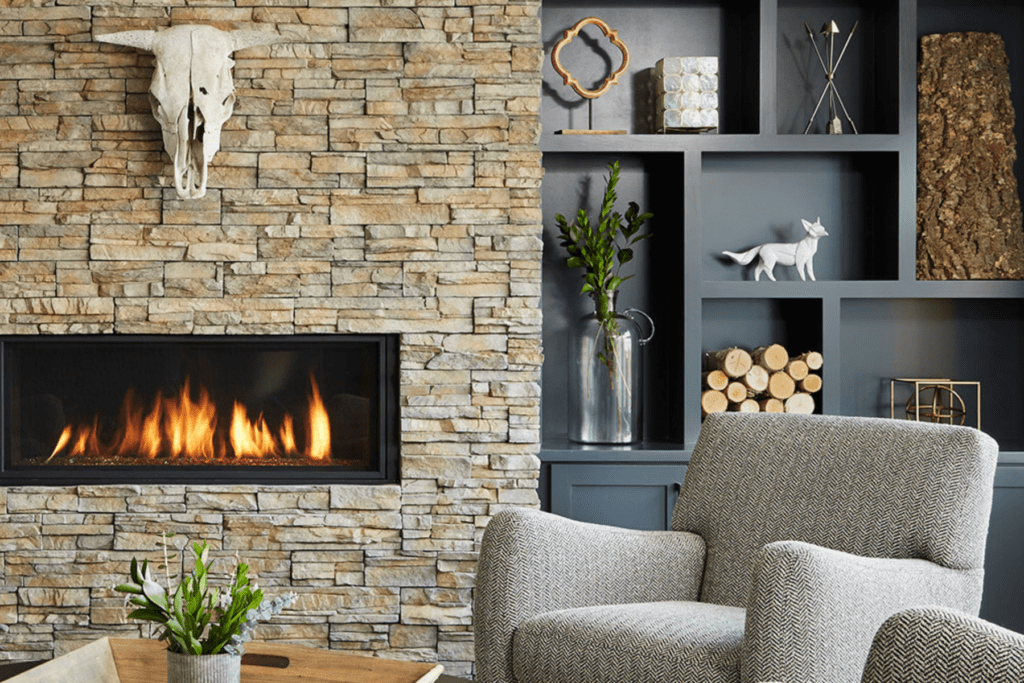
Nantucket Stacked Stone | Eldorado Stone
Elevate your space by installing stone veneer. Learn the phases of this process, from assessing your wall space to choosing stone veneer and preparing the wall.
Installing stone veneer is a timeless and beautiful way to elevate the look of your space. To achieve the desired effect, it’s important to know how to do it correctly. This knowledge will not only enable you to achieve great results the first time around, but it will also help you determine the best type of stone veneer for your space.
Dive into our guide to proper stone veneer installation below.
Step 1: Assessing Your Wall Space
This project begins with an assessment of the wall where you want to install stone veneer. To start, determine which materials the interior frame of the wall is made of: wood or steel. This is important to know because a wood frame requires a different installation process from a steel frame.
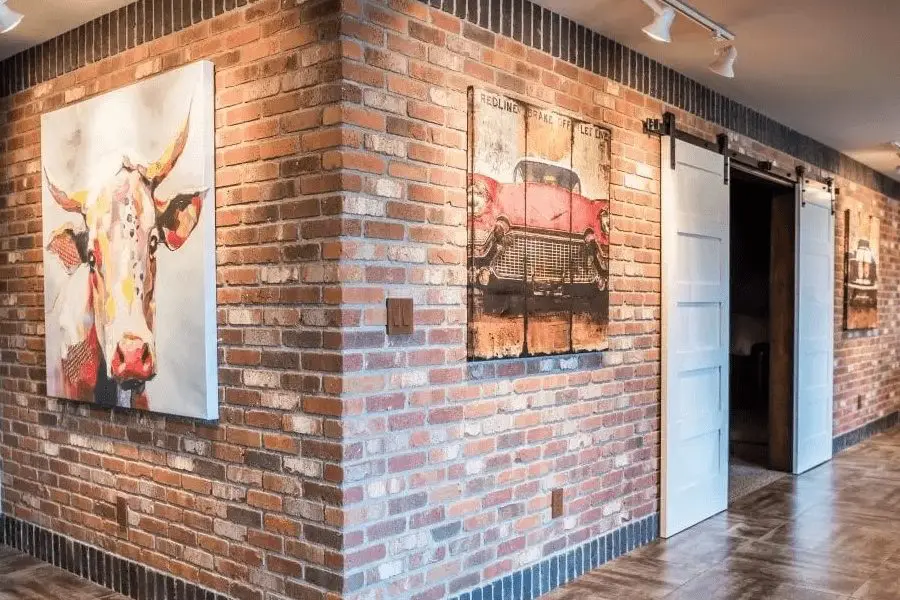
Something else to keep in mind is wall fixtures like electrical outlets and light switches. Another is decorative elements like sconces, shelves, and space for hanging art and photographs. Consider these things in your final design, whether you’re using the existing wall or building a frame out of it.
One of the most important benefits of assessing your wall space is it helps you choose the appropriate size and weight of stone veneer. There are two main types of stone veneer: thin and full-size. Full-size is heavier than thin stone veneer, so take that into consideration.
Step 2: Choosing Your Stone Veneer
In this step, you must imagine what you want the final wall to look like. Here, you’ll want to consider not just the colour palette and style of your interior design, but also how you want the wall to function. Is this an accent wall that will be the focal point of the entire room? Or is it meant to act as a stylish, yet subtle backdrop? This will influence your final decision.
No matter the aesthetic or style you’re going for, or whether you want your interior wall to stand out or blend in, there’s a stone veneer to fit your vision.
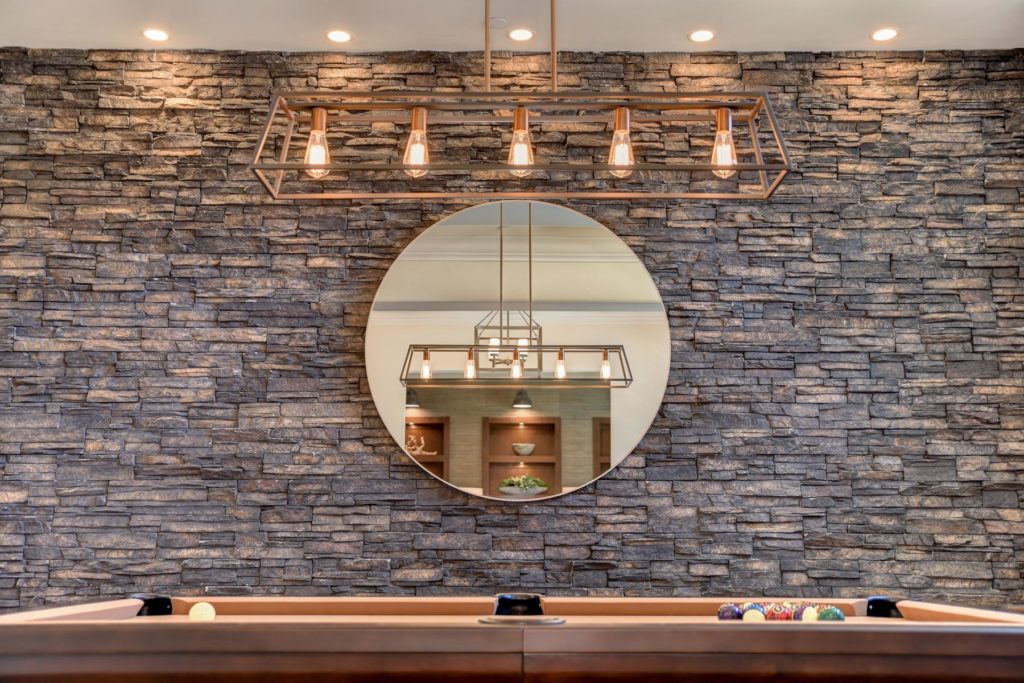
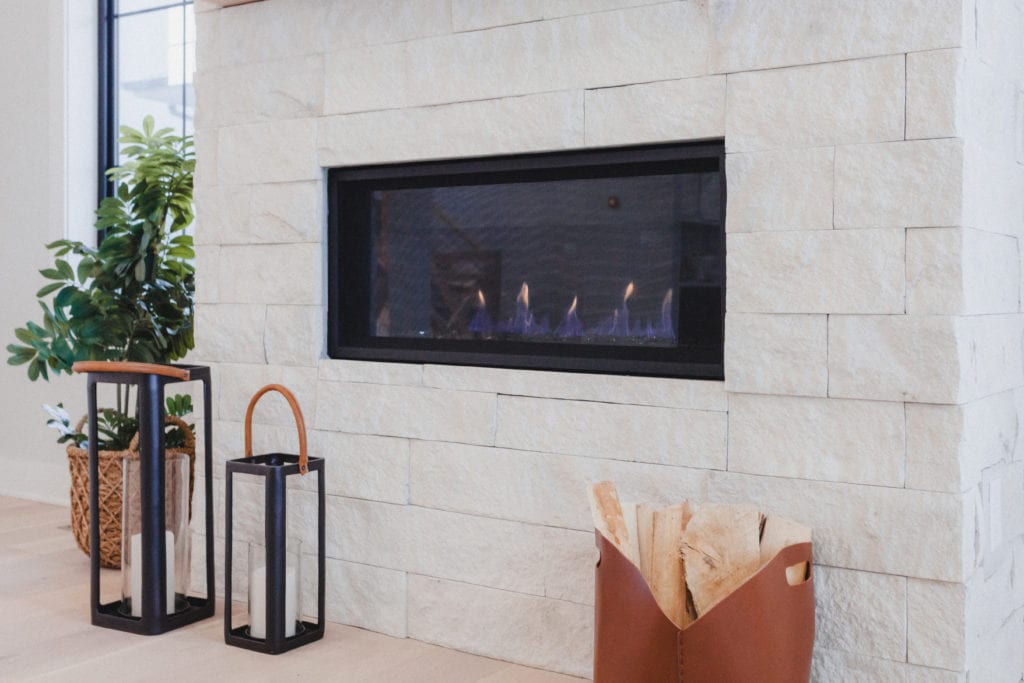
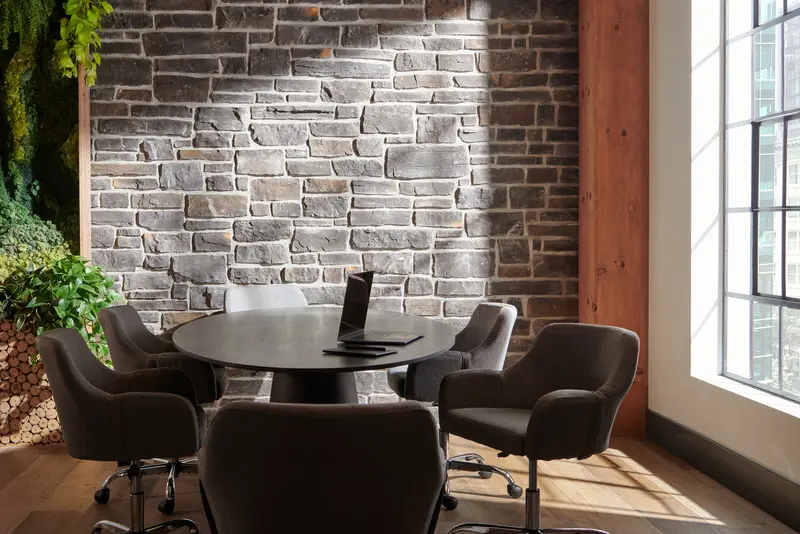
In our Residential Gallery, you’ll see how different types, colours, and textures of stone veneer have been incorporated into elevated, tasteful interior designs. Browse the projects for inspiration before you finalize your choice.
Step 3: Preparing a Wall for Stone Veneer Installation
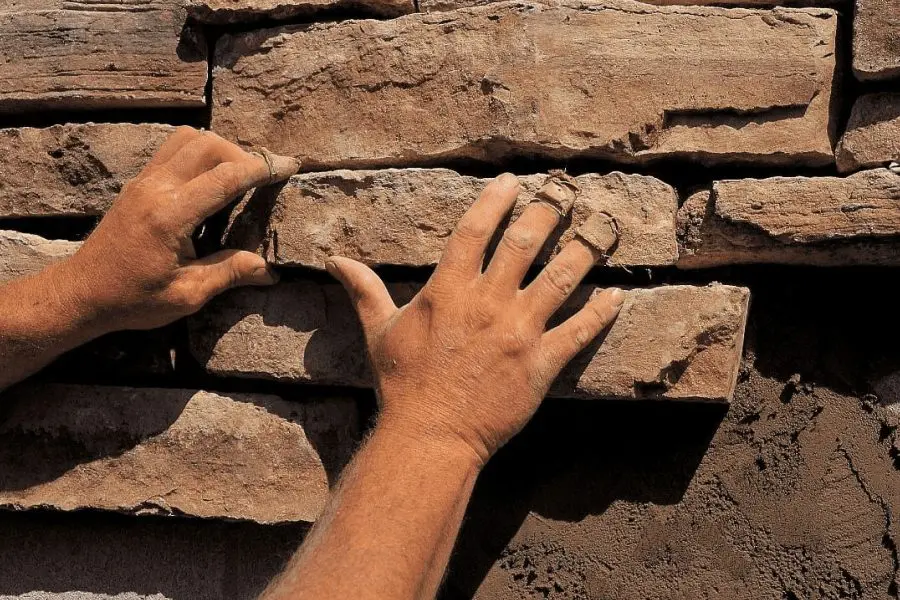
First, ensure you know the proper procedures for installing stone veneer based on the assessment you performed in the first step.
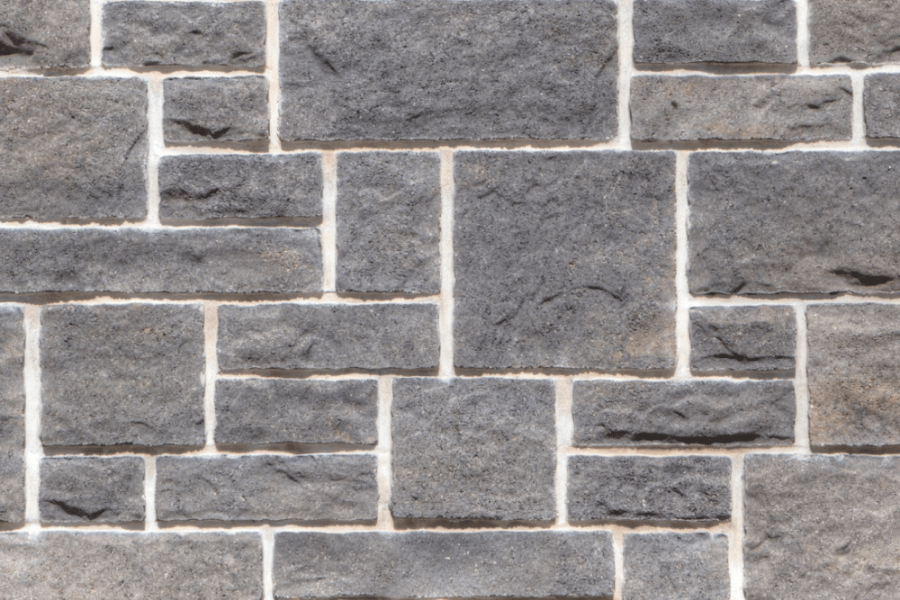
Next, determine which configuration you want to use to apply the stone. The configuration will depend on the size and shape of the stone. You’ll find that they fit naturally together in a certain pattern.
Another element to prepare for is grout lines. It’s up to you to choose how thick and deep you want the grout lines to be, or if you want them to show at all. Decide this now, so that you can stick to it consistently during installation.
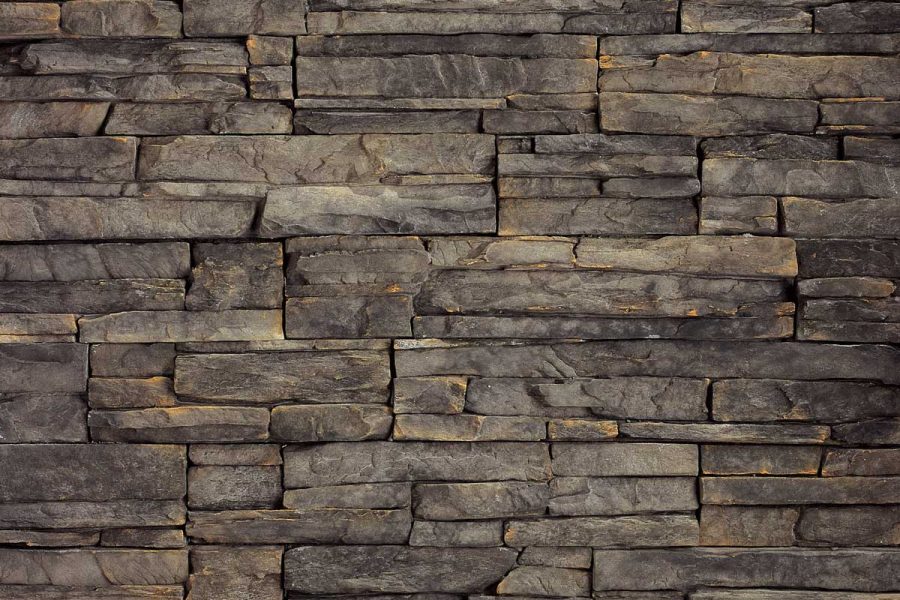
Below are examples of two stone profiles. One is grouted (left) and the other is stacked dry (right).
If you feel nervous about how the stone veneer will look after it’s installed, have a small mock-up created. This way, you can see exactly how the stone veneer and grout will look together. Determine if you want to make any last-minute changes, such as to the thickness or colour of the grout lines. It’s best to make such alterations now because once the stone veneer and grout are installed, it’s hard to change it.
When you feel confident in your final choices, begin the installation. Don’t rush the process, as haste can lead to mistakes. Instead, focus on the big picture, and soon enough, your stone veneer installation will be complete!
Discover the Perfect Stone Veneer at I-XL
I-XL offers stone veneer to meet every need and design aesthetic, both inside and outside the home. Our Residential Gallery will inspire you with beautiful and tasteful concepts for stone veneer and grout for accent walls, fireplaces, and more. Reach out to us today to request a quote.


:max_bytes(150000):strip_icc():format(webp)/drywall-framing-guide-1821976-hero-4e68b24388d44969ae6c85e5e1bda1f7.jpg)
:max_bytes(150000):strip_icc():format(webp)/steel-beams-at-construction-site-xxl-157433571-57edd3cc3df78c690f2cb6bf.jpg)
