Bianco Blend | Casa di Sassi
Stone veneer problems rarely show up during installation. They appear after the wall cures, when the building is finished around it and someone steps back and sees the whole façade at once. Colour variation, blending that looks off, a tie-in that reads as a patch. By that point the wall is finished around it, the crew has moved on, and fixing it means putting scaffold back up and bringing the crew back. That is an expensive way to learn something that was knowable before the first piece went up.
Most of it starts earlier than people expect. Sometimes before material is even ordered.
Keep the Wall Continuous
Running short late on a main wall forces a stop, and when the install restarts, the break rarely disappears. Topping up from a later production run introduces a shift that may not be visible up close, but reads clearly once the wall dries and is viewed at distance. What looks acceptable at arm’s length shows up as a band across the façade from thirty feet back.
These issues are usually set before installation starts. Quantities are often treated as square footage, without accounting for blending range, waste, or how material will be distributed across the wall. Once the run is interrupted or supplemented mid-install, there is no clean way to correct it on the wall. The only real fix is going back up the elevation after the fact.

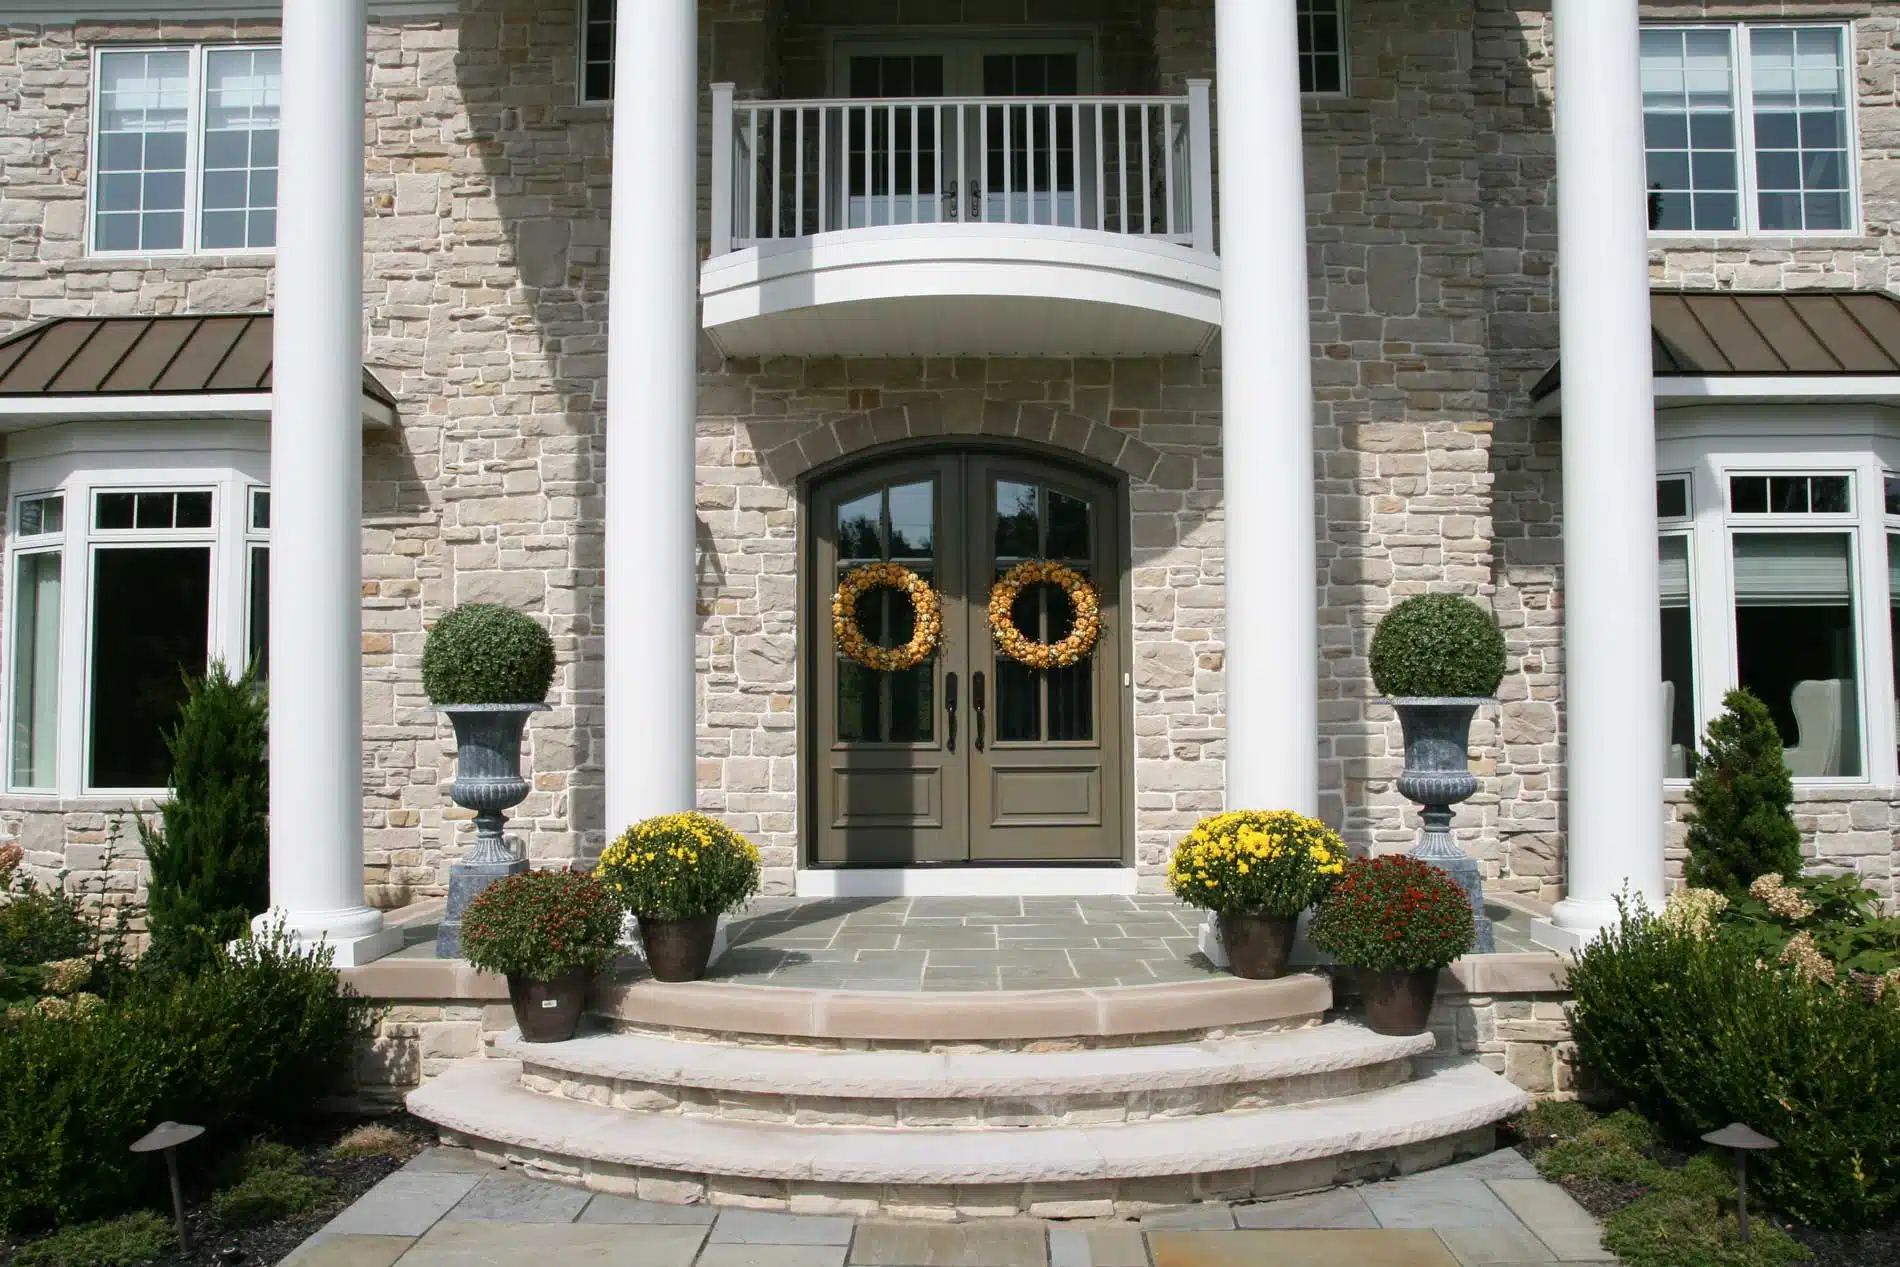
Winter Point Weather Ledge | Dutch Quality Stone
Photo Credit: Greenhouse Design Build
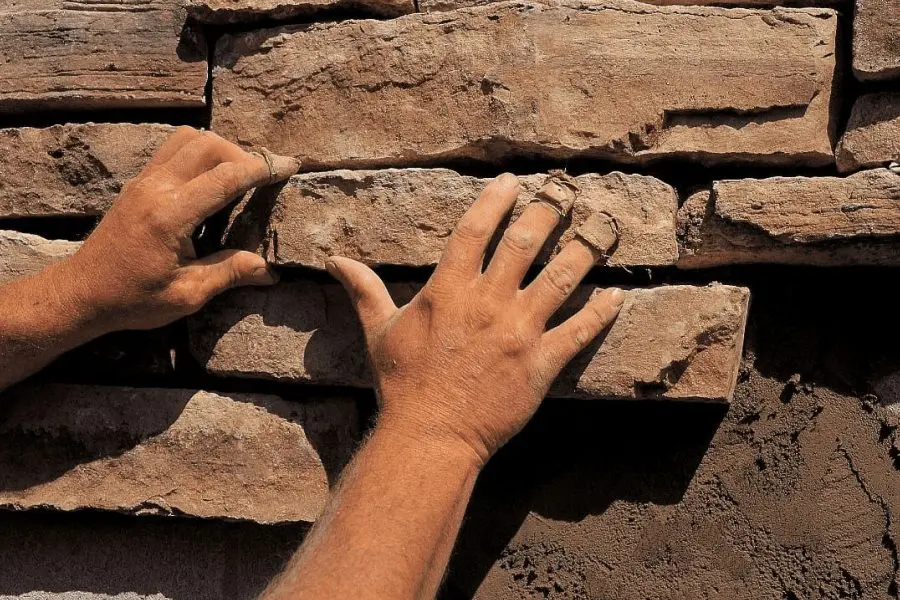
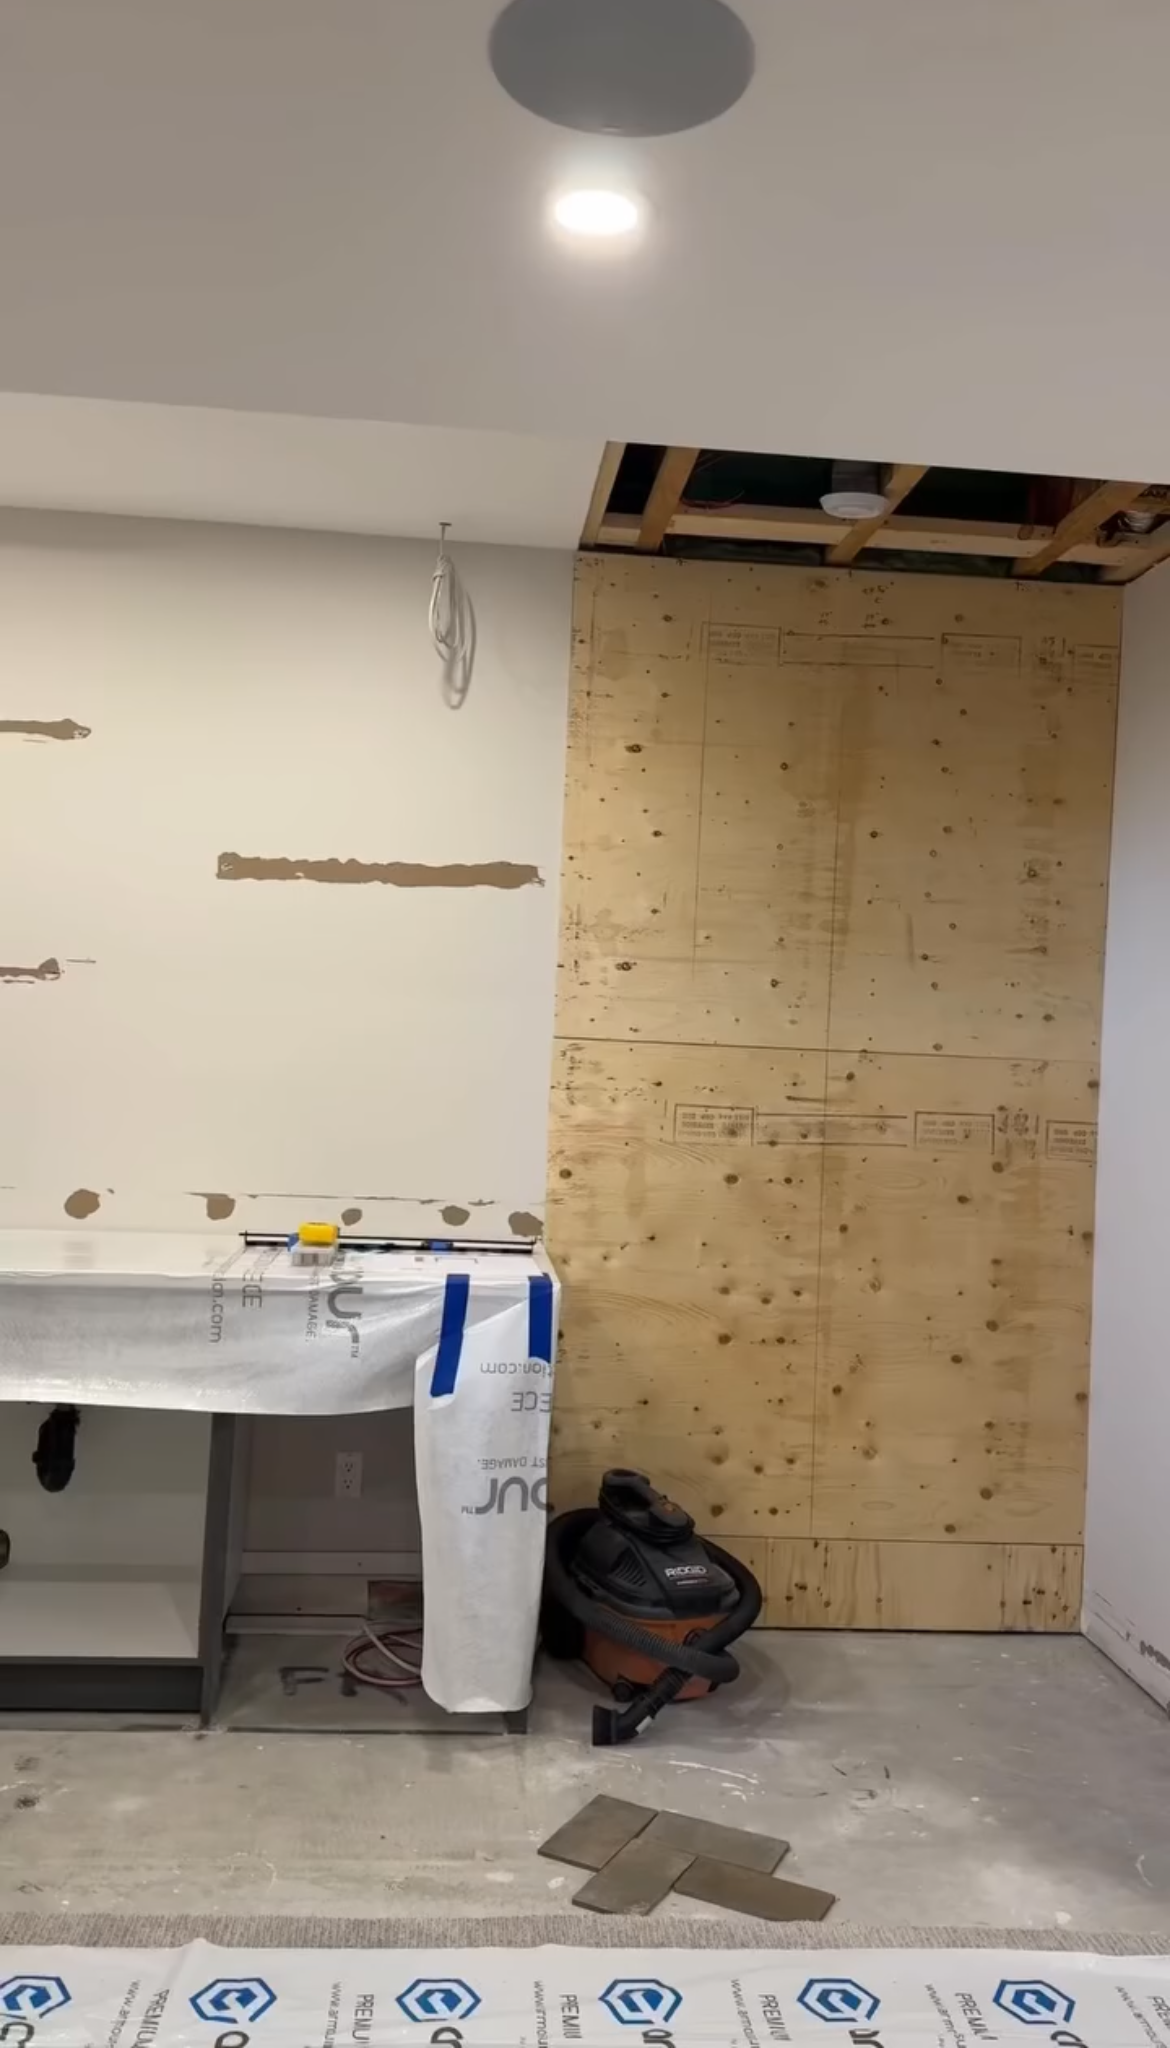
Start With Control Pieces on Site
Corners, sills, trims, returns, and transition pieces define how an elevation begins and ends. They control alignment and determine where the eye lands, setting the reference points the rest of the wall builds from.
Jobs that start without these pieces on site tend to push past those details to keep production moving. The wall goes up, but the starting and finishing points are left unresolved. Coming back to those areas after the surrounding work has set creates visible joints. Returns are harder to tie in cleanly, and transitions read as patches instead of planned breaks. When these elements are not established early, the crew is forced to work around decisions that should have been locked before the first piece went up.
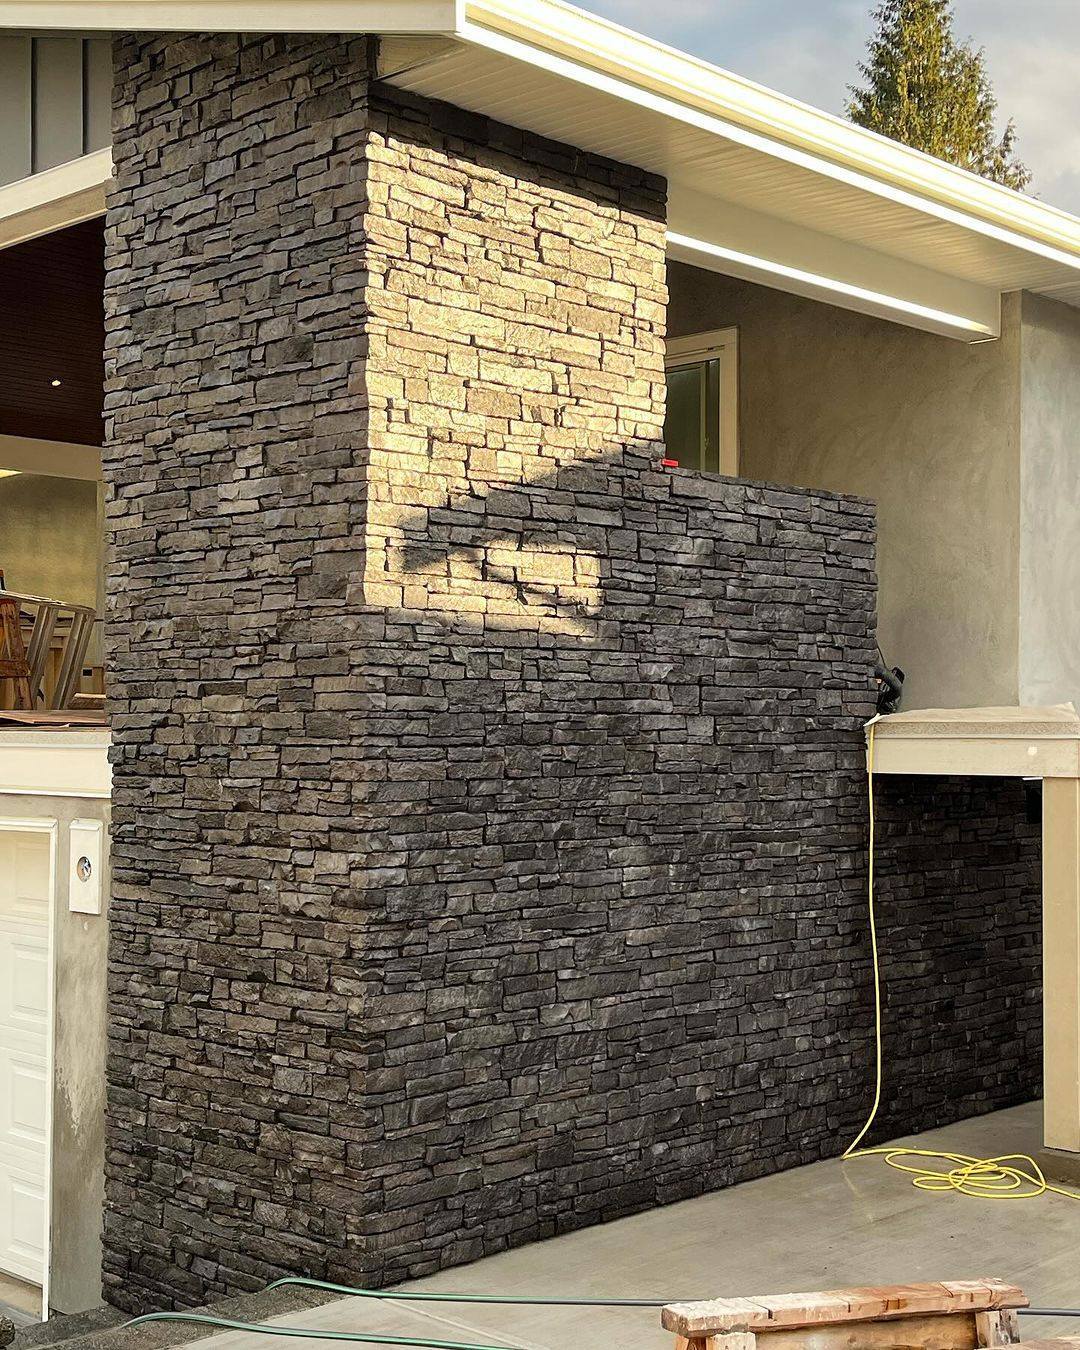
Bow Valley Mountain Ledge Panels | Eldorado Stone
Photo Credit: Clean Slate Masonry and Stone
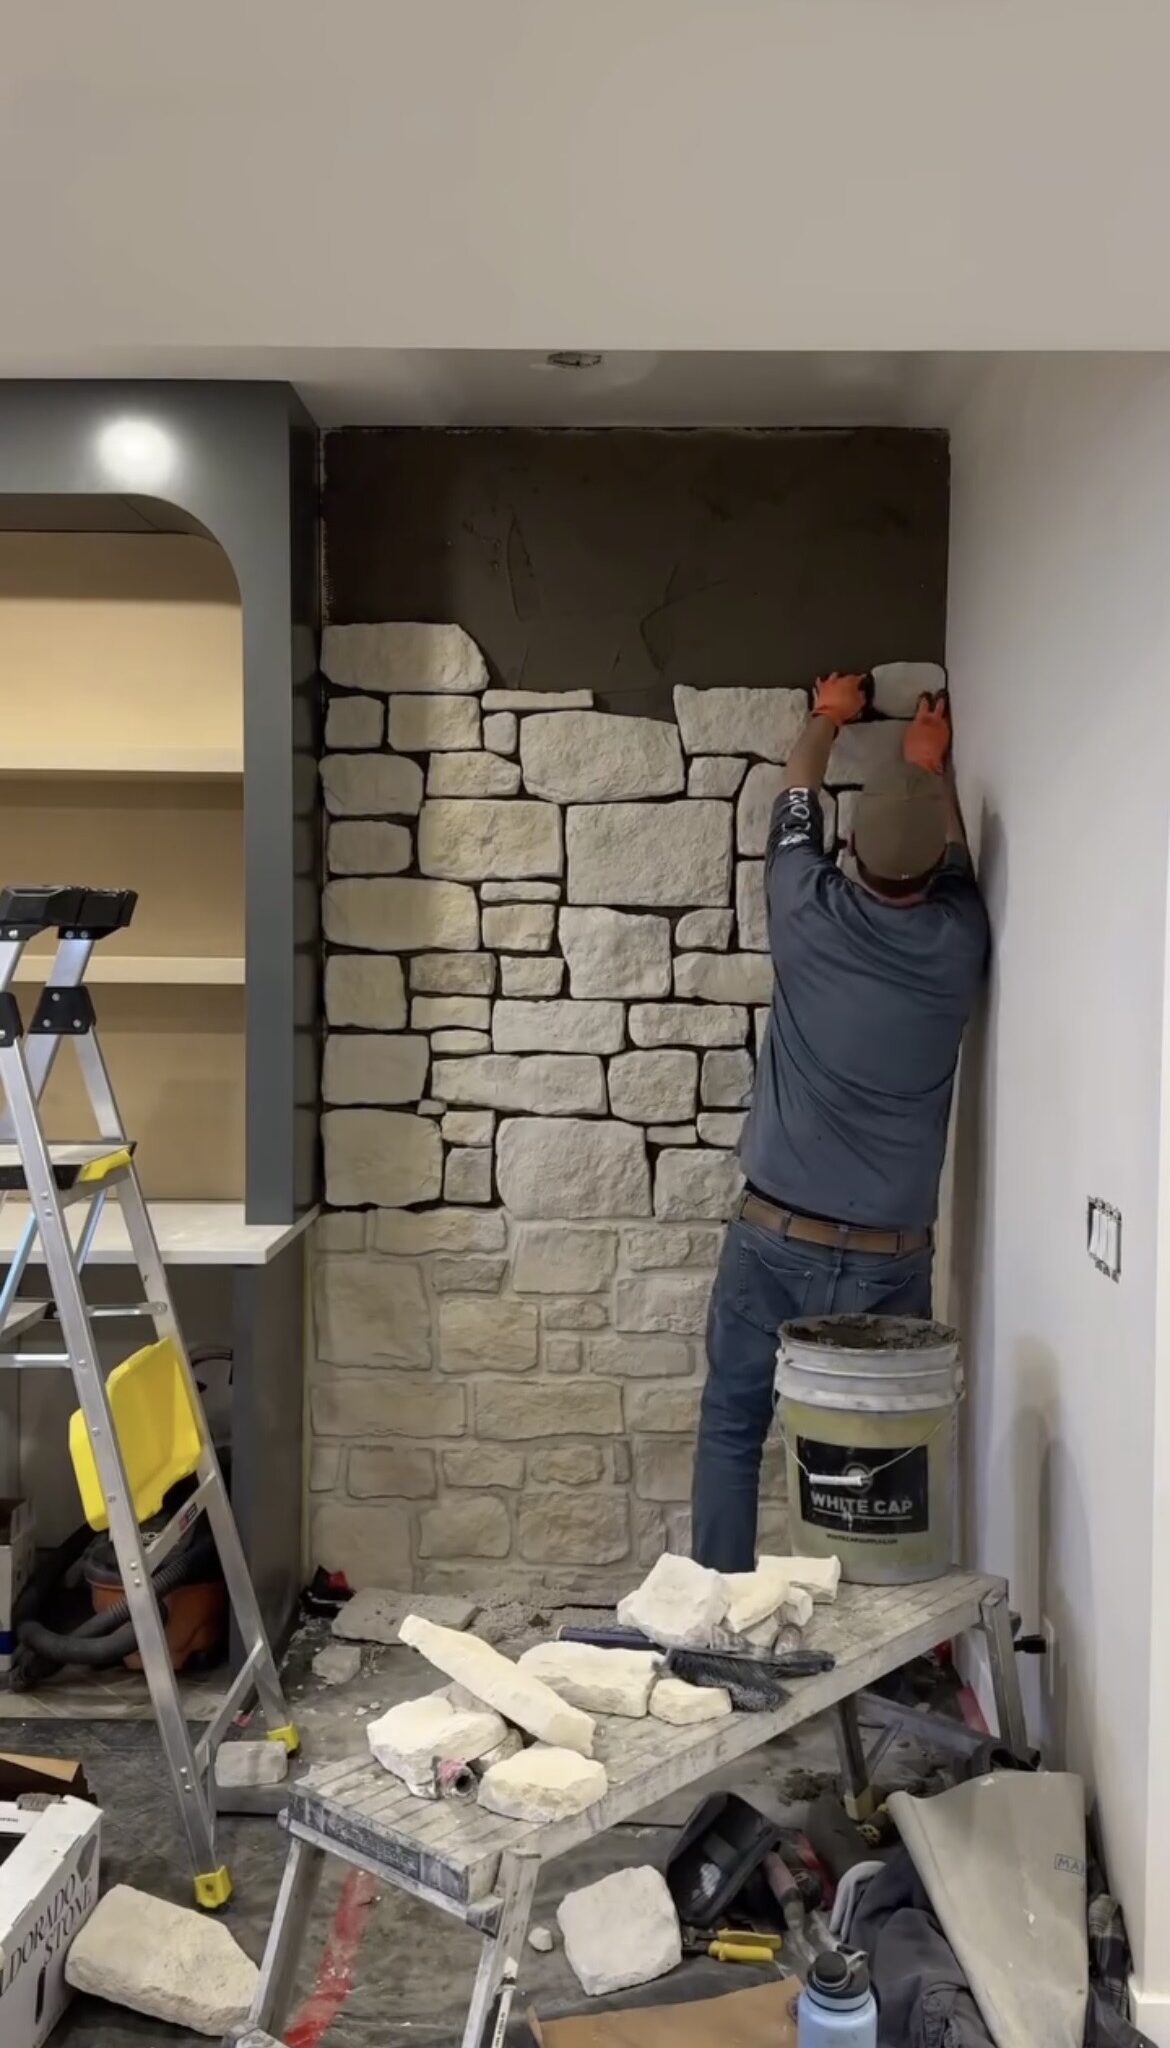
Lock Layout Early
Layout decisions are often made on the fly once installation begins. As pace increases, selection time narrows and small deviations accumulate quietly. Joint lines drift, similar sizes group together, and breaks around openings land slightly off. Each call on its own seems fine, but over the length of a wall, they change how the surface reads once complete.

Sombre Yorkshire | Casa di Sassi
Photo Credit: Casa di Sassi
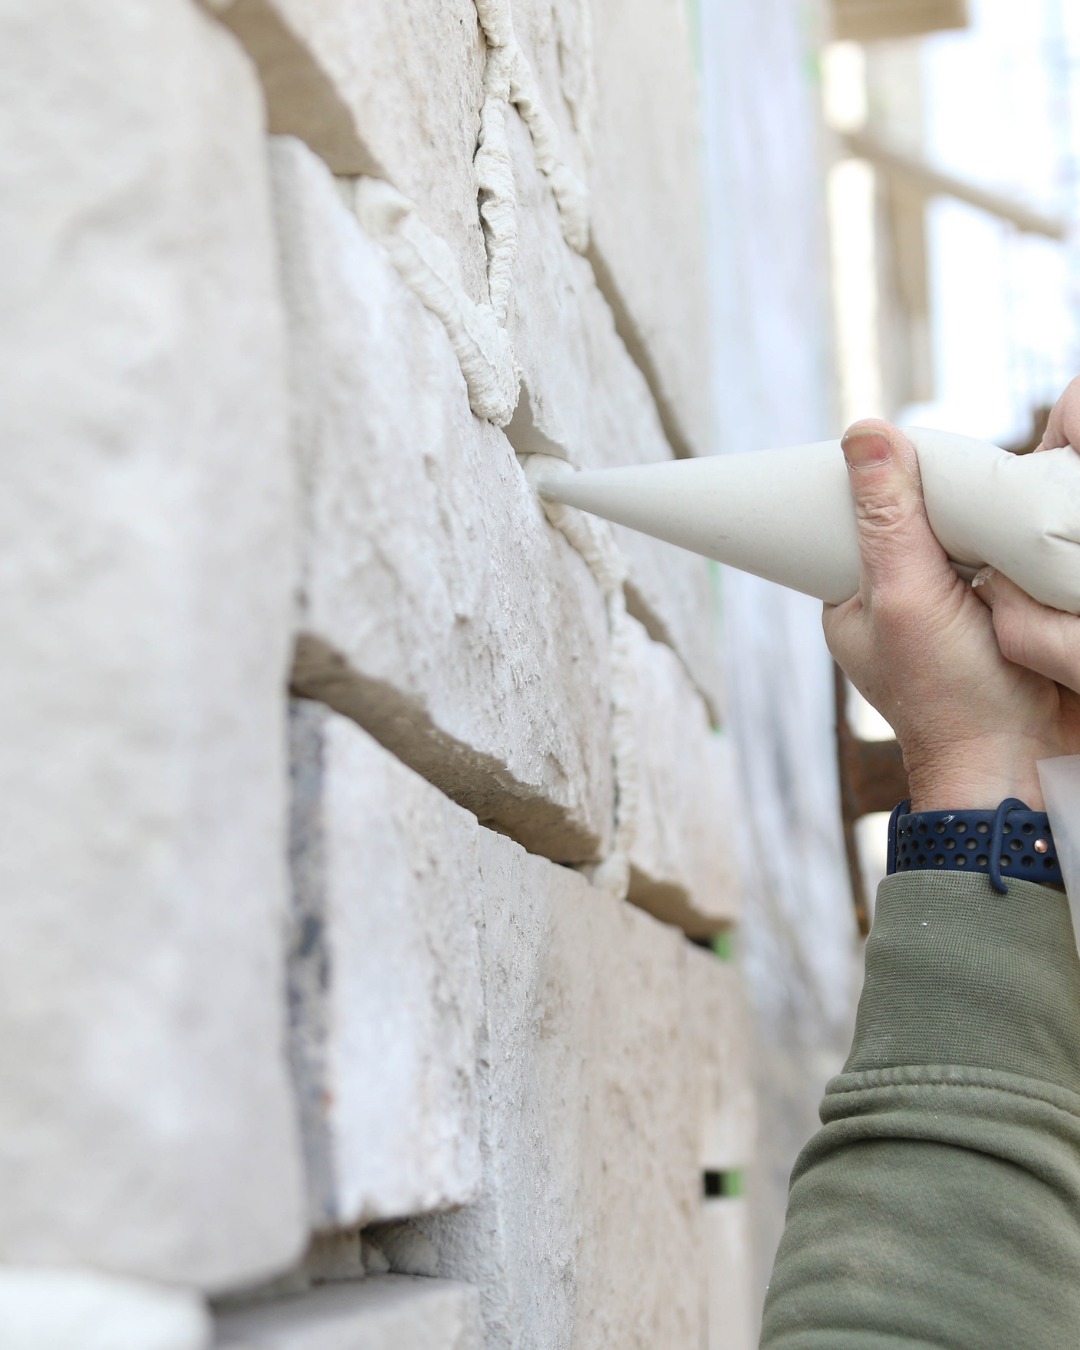
Evaluate the Wall, Not Just the Forecast
A forecast tells you what the air will do. The wall tells you what the substrate has been doing for days. Retained moisture, overnight temperature swings, uneven sun and wind exposure across the surface. None of those show up in a weather app, and all of them shape how the install cures. A wall that looks dry in the morning can still be holding moisture from the night before, especially on shaded elevations.
Conditions that look acceptable can still raise the risk of efflorescence (mineral deposits that appear as the wall dries), hairline cracking, or uneven cure. Those issues tend to surface only once the wall has fully dried and you see the whole façade at once. Assess the actual substrate and protection plan before a large run. A short delay at the right moment is far easier than the correction.

Ashen Weather Ledge | Dutch Quality Stone
Photo Credit: Dutch Quality Stone
Stage for Blending, Not Convenience
Consistent blending comes down to one practice: working across several boxes at once rather than exhausting one before opening the next.
When material is staged for convenience, crews work through units one at a time. Colour and texture concentrate in sections, even if the overall range is correct. The wall ends up reading in blocks instead of as a continuous surface. Under production pressure, crews follow the easiest path, and if pulling from multiple units requires extra movement, it won’t happen consistently. Positioning material so blending is the simplest option is what keeps the wall reading evenly once complete.
Casa Blanca RoughCut | Eldorado Stone
Photo Credit: Feegrade Contracting
Before Committing to the Wall
Before committing to a primary wall section, crews typically confirm a few things:
- Sufficient material is on site to complete the section without a mid-run top-up
- Corners, trims, sills, returns, and transitions are physically available
- Layout lines and break points are established
- Wall condition and protection plans align with curing requirements
- Material is staged to support consistent blending across units
Quantities, batch timing, control piece availability, and lead times are easier to resolve during planning than after installation begins. Once the wall is underway, correcting those decisions means added labour, scaffold going back up, and rework. I-XL can help sort those details early, before they become costly.